How to make stickers with a white border and cut line
A die-cut sticker needs two things your image doesn’t have: a white border around the design, and one smooth line for the blade to follow. Drawing that line by hand is fiddly, and automatic offsets in cutting software often hug every letter. Here is how to get a print-ready sticker file from any PNG or JPG in a couple of minutes.
What makes a good sticker cut line
- One closed line around the whole design, not one around every letter. Small gaps between letters and shapes should be bridged, or the blade has to weave in and out and the sticker tears when you peel it.
- An even border, usually 1–3 mm on a small sticker. It hides small print-to-cut misalignment, so no white slivers or cut-off edges.
- Smooth curves. A stepped, pixel-following line cuts as a wobble.
- No background. If your image sits on a white or colored rectangle, the cut line follows the rectangle, not your design.
1. Convert your image
- Upload your PNG or JPG to SVG Me. Procreate art, clip art, logos and lettering all work.
- If the design sits on a solid background, choose "Remove it first" (or Clean up) and clear it. See how to remove a background before converting.
- Check the result. Merge or recolor anything that looks off.
2. Download the Sticker format
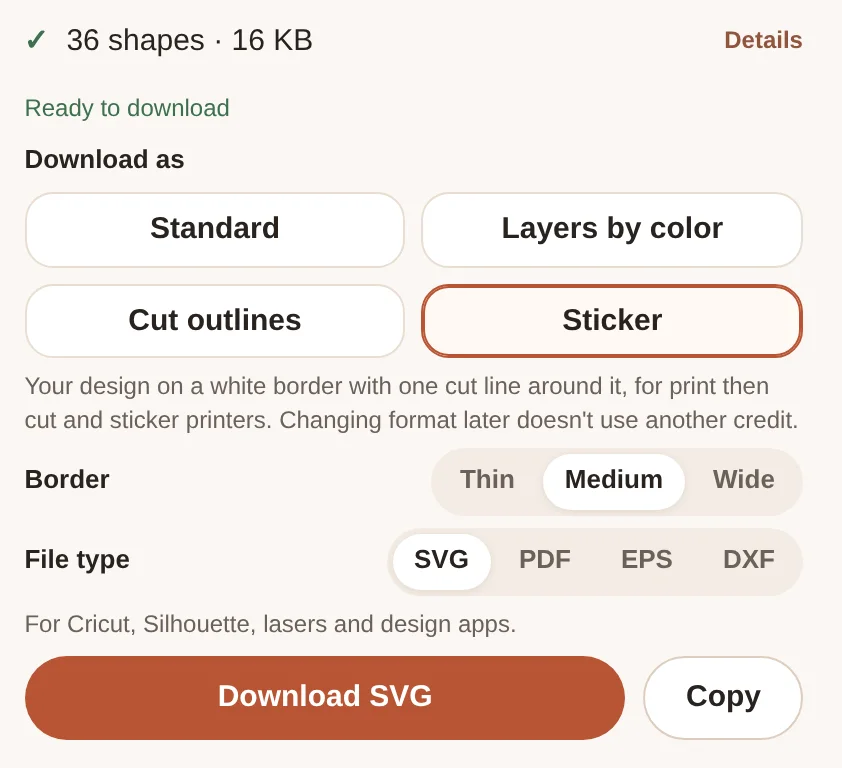
Under "Download as", choose Sticker and a border: Thin, Medium or Wide (1.5%, 3% and 5% of the design’s longer side). The file holds your design on a white backing shape. The backing’s edge is the cut line, and it sits on its own layer, named cut-line. A white background touching the edge of the image is dropped automatically.
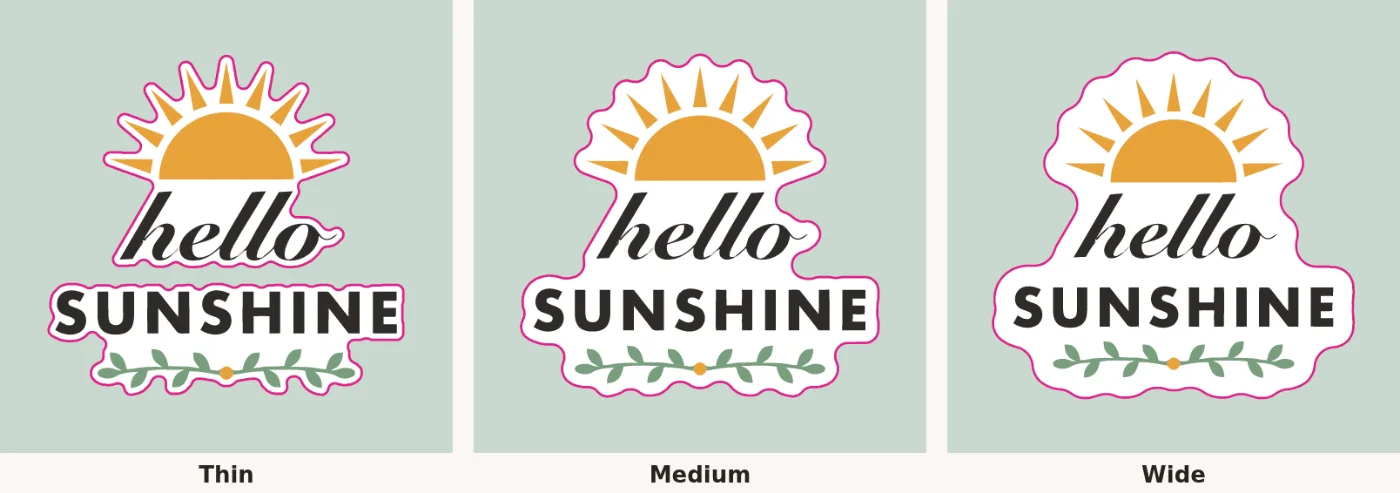
Changing the format or border later doesn’t use another credit, so try a couple and compare.
3a. Cricut Print Then Cut
- Upload the SVG to Design Space and size it. Check your machine’s maximum Print Then Cut size.
- Select everything, the white backing included, and choose Flatten. The design becomes one printable image, cut around its outer edge: the backing’s cut line.
- Choose Make It, print on sticker paper, and let the machine read the registration marks and cut.
3b. Silhouette Print & Cut
- Open the file in Silhouette Studio and turn on registration marks.
- In the Send panel, set only the white backing shape to cut, and the rest to no cut.
- Print on sticker paper, load it, and let the machine read the marks and cut.
Silhouette Studio Basic Edition doesn’t import SVG or PDF. Download the DXF and use it for the cut line, or see which file type to choose.
3c. Sticker printing services
Most online sticker printers take a PDF or SVG and cut around the outside of the design, so the Sticker format’s PDF usually works as is. Some ask for the cut line as a named spot color, often "CutContour". If yours does, open the PDF in Illustrator, Affinity or Inkscape and give the backing shape’s outline that spot color. Check your printer’s file guide either way.
Questions
How wide should a sticker border be?
About 1–3 mm for a 2–3 inch sticker. Thin suits simple, chunky shapes; Wide gives a rounder, more forgiving shape for detailed designs and small lettering.
Why does the cut line go around the outside only?
A cut line through holes and letter gaps makes stickers that tear and are hard to peel. The Sticker format fills enclosed gaps and bridges narrow ones, so each design is one piece.
Can I get just the cut line?
Yes. The cut line is its own layer, named cut-line. Hide or delete the design layers in your software, or download the DXF, which puts it on a CUT-LINE layer.
Does it work for waterslide decals, magnets and heat transfer?
Yes. Anything you print and then cut around works the same way. Mirror the design for heat transfer and waterslide if your material needs it.